Showing posts with label repair. Show all posts

Saturday, January 10, 2026

Williams Upper Deck Pitch & Bat small repair

First post of 2026!

So the other day I wanted to play Upper Deck...


I got this game in 2019 and since I've first gotten it working. It's been very reliable.

So I start a game, press the pitch button. The game serves the ball. Press the bat button... nothing happens. 

The bat is dead!?

Re start the game, press the pitch button. The game serves the ball. Press the bat button, the bat works.

Pitch the next ball, bat. all good.

Another pitch, press the bat button. Bat is dead again.

What's happening?

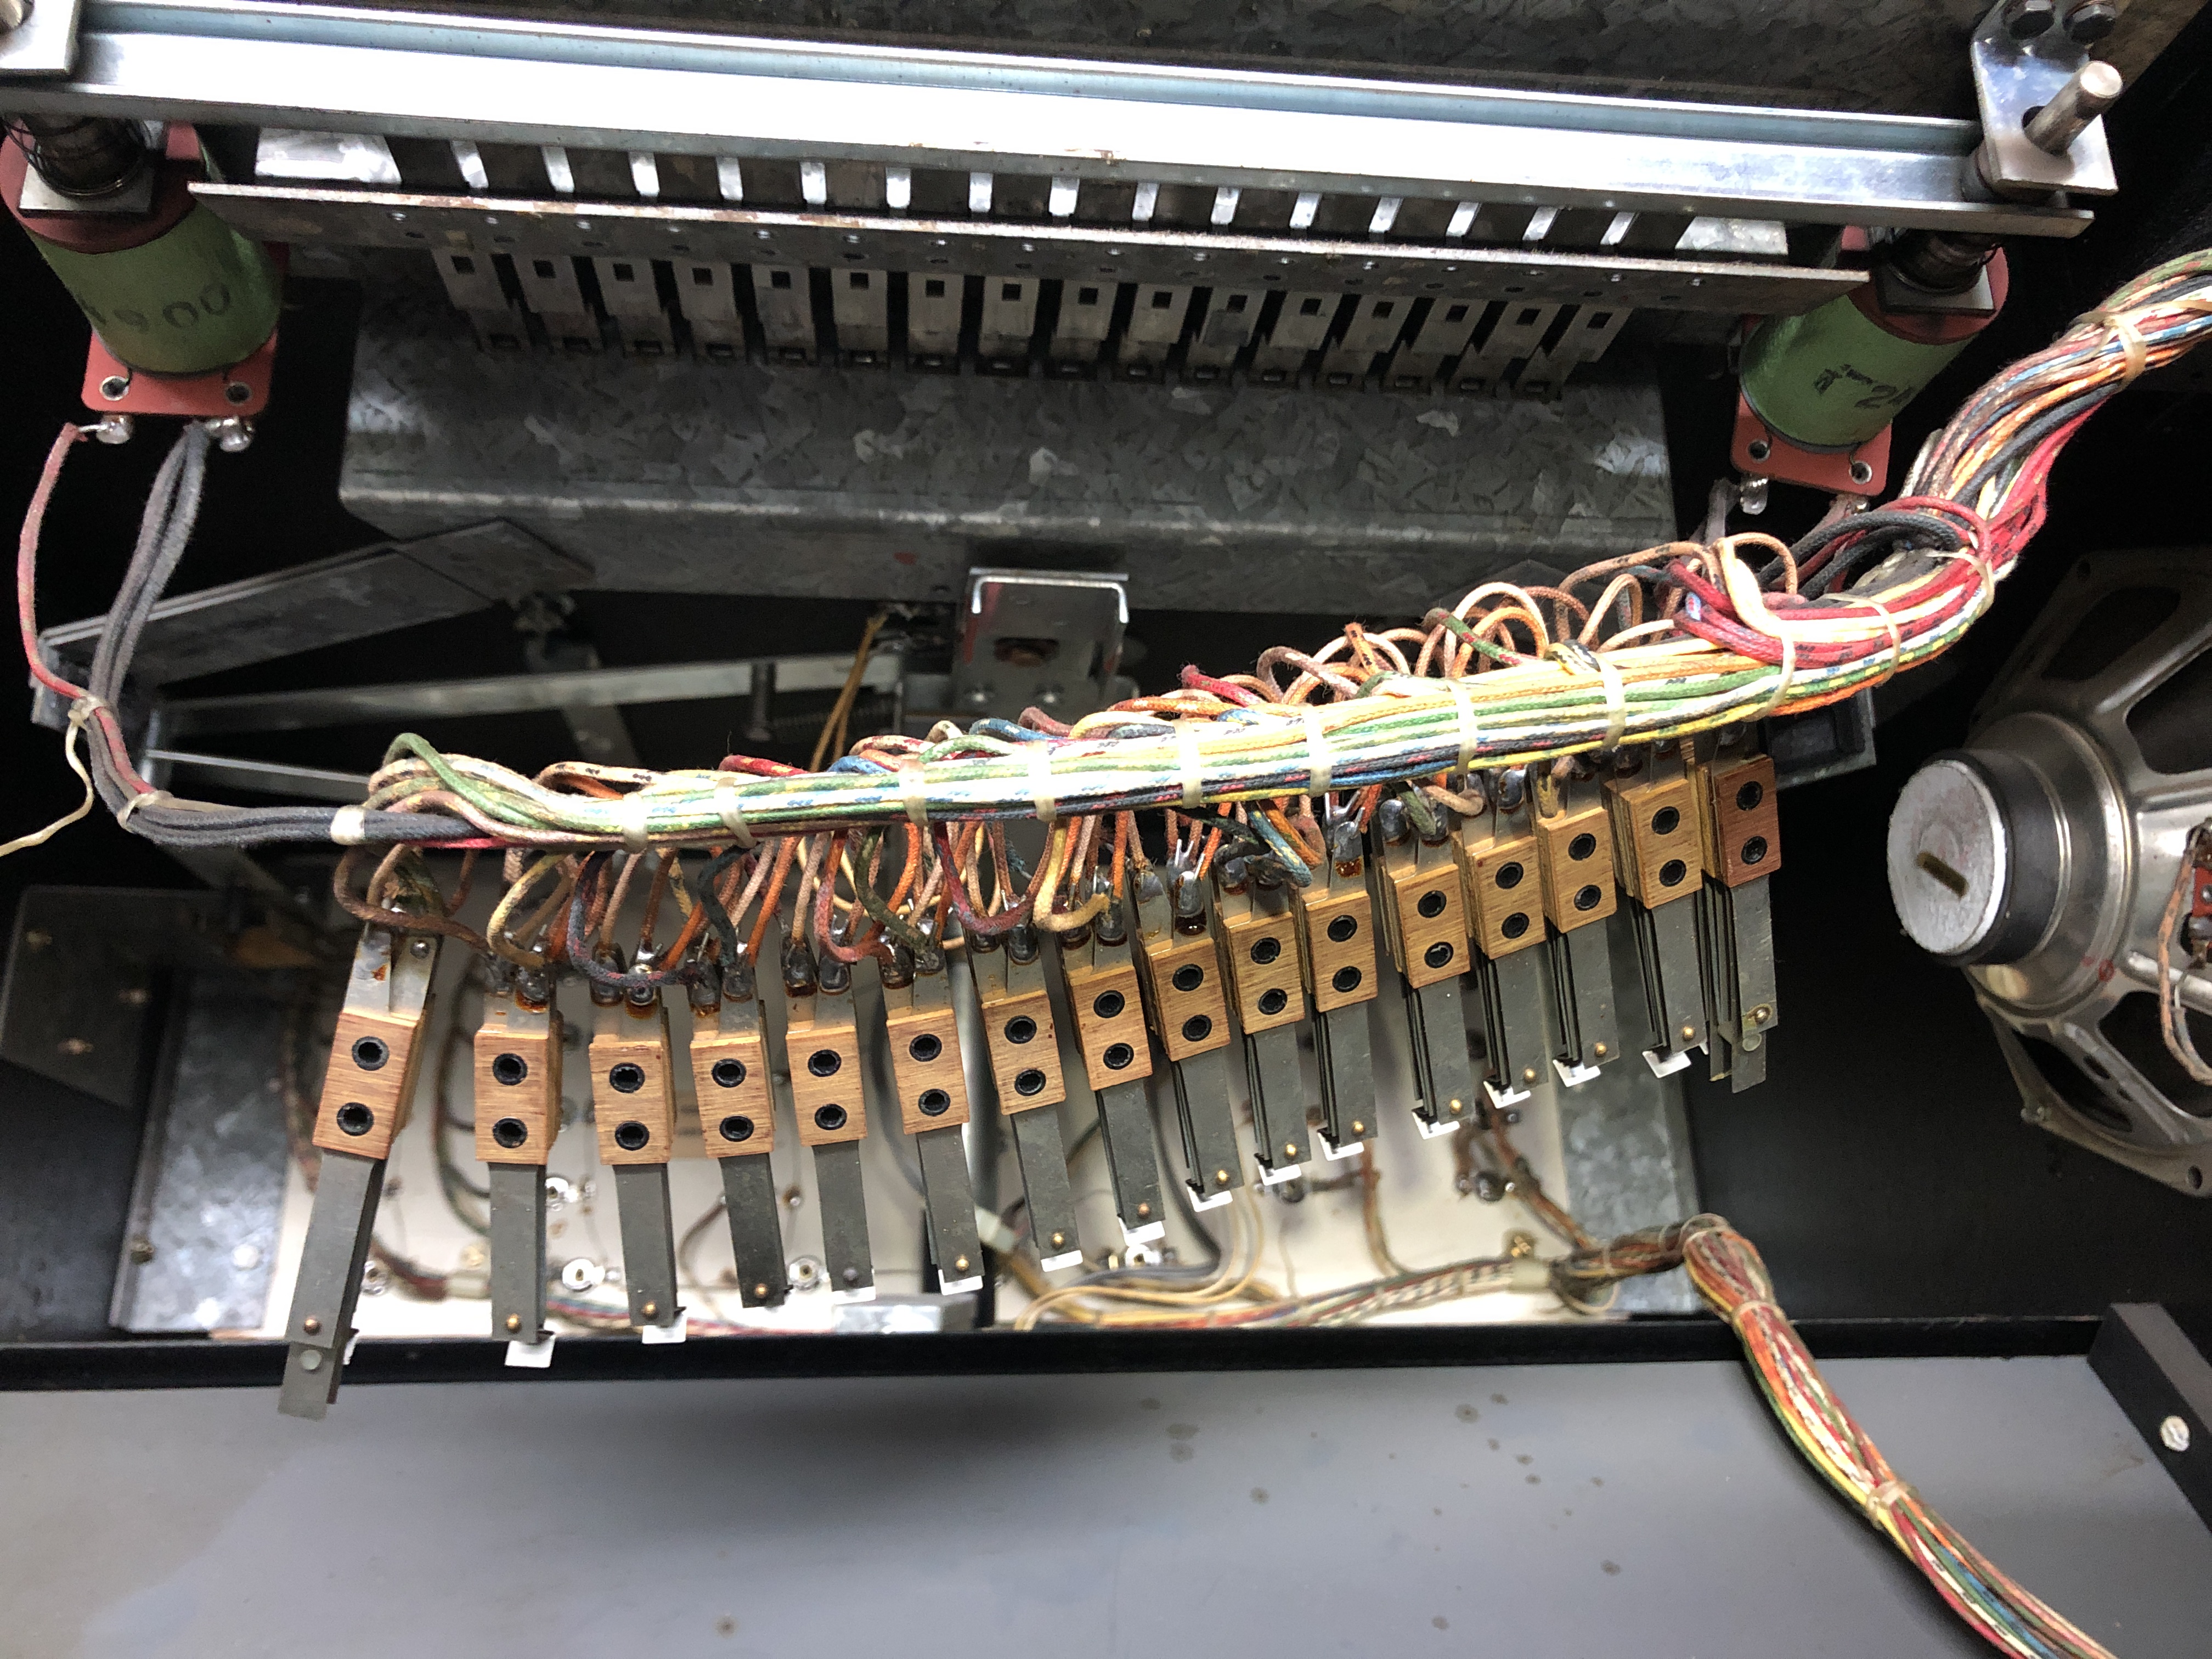
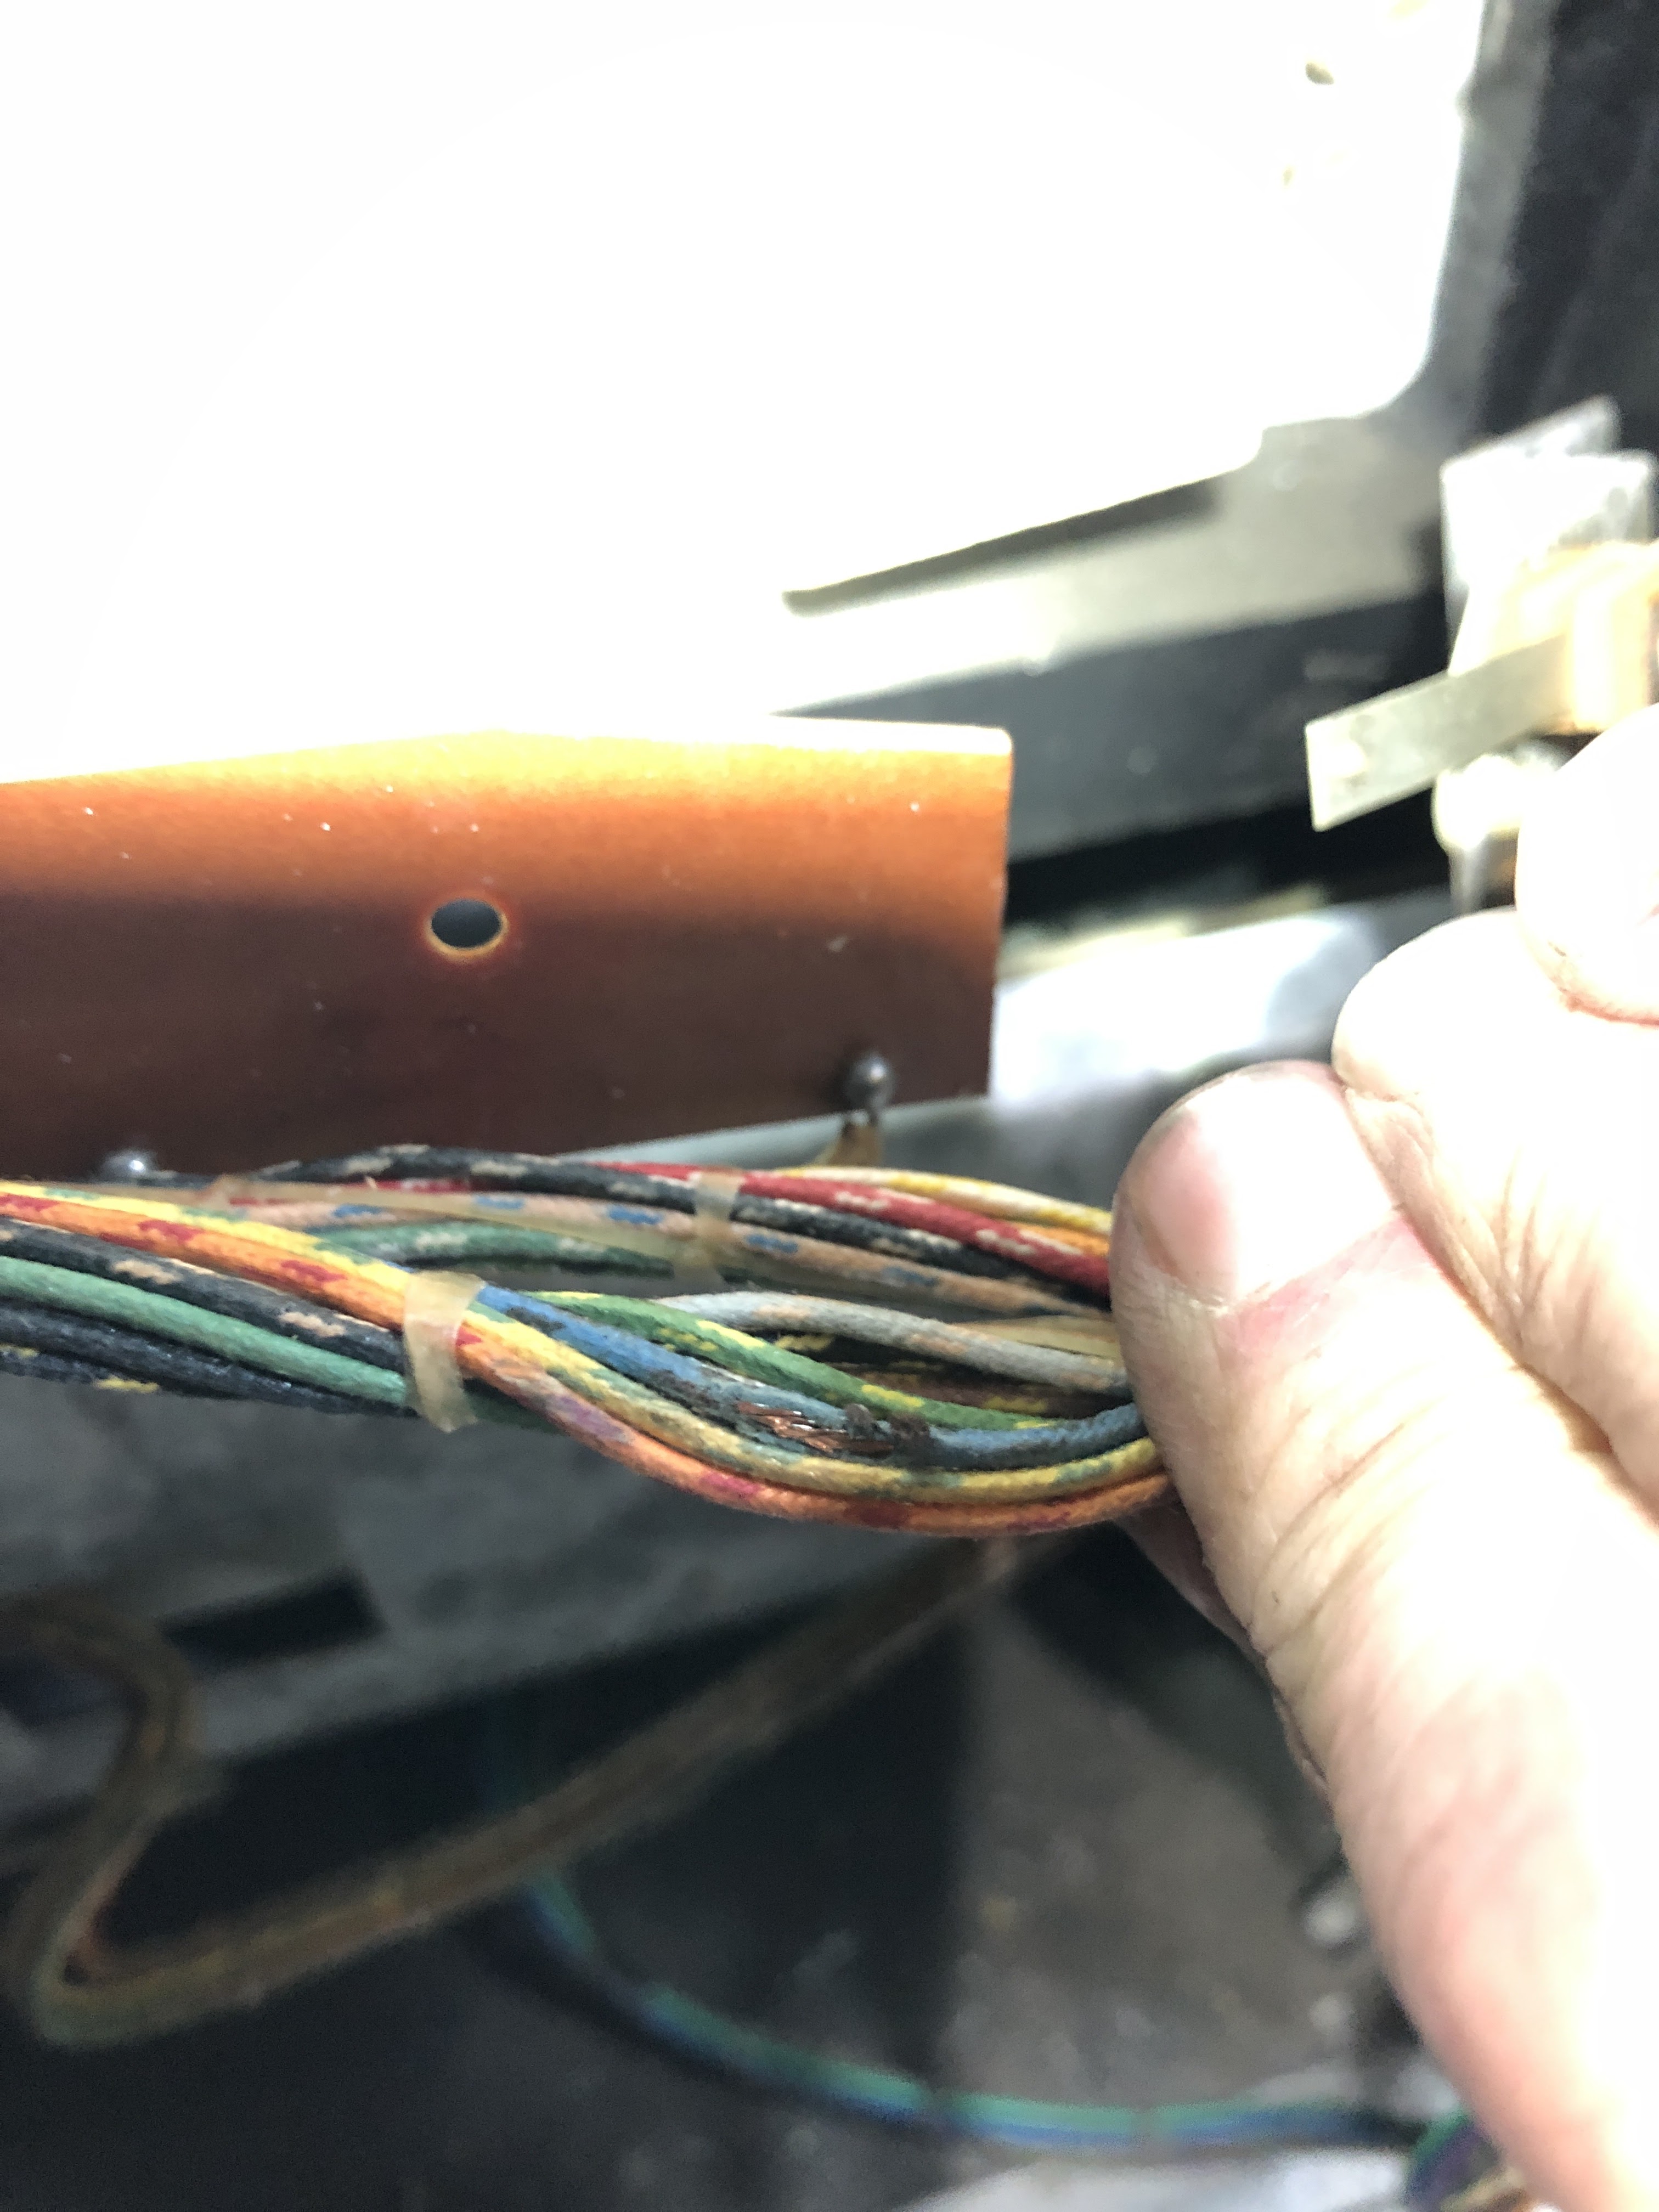
So I open up the game.

I start with the obvious stuff: (I.e. Bullshitting my way through the repair)

Clean the end of stroke switch on the bat unit.


Clean the switch points on the Pitch Relay, the Bat Relay and the Bat Button Relay.


Close up the game. Try a new game... and the game behaves exactly the same as before.

But I also notice a pattern:

When the bat was inoperative, if I kept pitching balls, after the 3rd strike, an out would register and the bat would work again for a couple of pitches... interesting.


Time to look at some documentation:

I had a PDF copy of Upper Deck's manual but no schematic.

The sequence of operation of the Pitch Unit, Bat Re. Bat Button Re. and Bat Unit coil is clearly explained:


I check the Pitch Unit:


Everything checks out good but still the bug remains.

I look on IPDB.org for a similar Williams pitch and bat game that might have the schematic.

1971 Williams Action Baseball had the schematic and close enough features so I can use it to aid my troubleshooting.


The bat coil is a 110 Volt coil.

It is energized by way of 2 switches on the Bat Relay, then by a switch on the Bat Button Relay. Then through a large variable resistor (for bat power operator adjustment). Then the circuit goes parallel through a 4 Ohm 10W resistor and a Mix unit switch. An finally through a fuse before reaching the coil.

So I start checking:

All the relay malarkey has been checked already. All good.

The variable resistor and the fuse are good. Connections are solid.


The Mix Unis is a bit gummed up, it didn't actuate smoothly. So I cleaned it and changed the coil sleeve.


Then I check the 4 Ohm 10W resistor and the resistor is bad. Open circuit.

That explains the intermittent failure of the bat. The mixer's role is to vary the power of the bat coil on a pseudo-random basis. By opening and closing the Mix Unit switch parallel to the 4 Ohm resistor, the circuit either goes through both the mixer switch and resistor (making the resistance practically zero) or through the resistor only, in the later case with the blown resistor, the circuit couldn't complete to the coil.


I didn't have a 4 Ohm resistor on hand so I had to order one. In the meantime I temporarily bodged a 3 Ohm resistor, just to be able to play the game until I fix it properly.

Here's the final repair:


I like Upper Deck. It was William's last Electro-mechanical Pitch & Bat game. It has the running man unit, electronic sound AND bells, two rows of targets, pseudo-random curve balls and a cool back box light animation for home runs.

My example is a bit of a rough. The head is missing the neck, the backglass is bad and the cabinet is pretty poor. But it's a keeper. I have fond memories of playing another Upper Deck at a pinball show against someone else. I was in the moment, just enjoying it.   

Sunday, August 17, 2025

Small repair on 1940 Gottlieb Score Card Hundred Point Unit


A couple weeks back I had visitors at my place... which is a big deal because the last time I had some guests over at my place was in early 2020... a long time ago. I just didn't feel like having anyone over since then.

Anyway, my guests were into the very eclectic and rare games so we were playing 1940 Gottlieb Score Card.


Gottlieb Score Card is a sequence game. The objective of the game is to light a complete number sequence on one of the four cards to win a massive amount of credits.

I repaired the game back in 2020 but before that it took me a number of years just to find all the missing parts I needed to get the project going. I wrote a couple of posts back then about overview and repairs...

So back to the bug... I kept noticing that once in a while the 100's wouldn't reset all the way back to zero when starting a new game. It would reset to 900 when the reset cycle would complete.


I decided to investigate the bug. I had a look at the 100's stepper unit. It's a 30 step continuous stepper. When resetting the game, the unit will step forward to the next zero.  There are three positions on the disc that are a zero. I did a number of resets of the game and observed where the wiper unit stopped. It was always in the same spot that it stopped at 900. The two other zero positions would work properly.  The bug was definitely electrical.

The unit is also responsible for lighting the 100's and giving the impulse to step up the 1000 point unit.


I took the wiper disk off so I could have a look. I suspected a broken wire on the back. But, checking with the multi-meter, I had continuity. Then I checked the continuity from the wiper and side and it measured open circuit. So I poked the solder glob on the back of the rivet and found a cold solder. Sneaky.


The repair was pretty easy. Using my soldering iron I removed the old glob of solder. Then I cleaned the back of the rivet with a dentist's pick tool and re-soldered the wire with some fresh tin solder and re-assembled the unit.


Job done.

Tuesday, February 18, 2025

Sea Island woes

My basement arcade has been a complete mess for the last four years.

Recently I figured out a way to somewhat break the literal logjam of games and I've managed to gain access to some games.

I'm slowly restarting games that have been sitting unused all these years.

I was going over Sea Island. Checking for sticking stepper units. Spinning by hand Control / Mixer and Magic Screen motors for unusual sounds and excessive drag from the clutch washers.

Spinning the fan blade of the Magic Screen motor armature. I heard some unusual clicking sounds from the gearbox. I Immediately suspected my old friend: the G-4114 intermediate gear. Maybe it had stripped as they commonly do.

I had a spare motor I had overhauled so I just swapped it in.

I was curious of the actual failure of the problematic gearbox so I opened it up:

I found some super dark almost solid grease. That's kinda usual for these old gearboxes. I inspected the gears and found they were all good. No broken teeth. But when I would spin the motor, It was skipping teeth... strange.


Looking more closely, I found the cause. The culprit was the shaft for the other intermediate gear. It's supposed to be pressed into the gearbox clam-shell housing on the armature side but somehow it became loose.


Causing over time for the shaft to wobble and wear out the locating hole on the output side of the housing. The locating hole became oval. The shaft no longer perfectly at a right angle. The gear wasn't meshing square with the adjacent gears.


The upside is that I now have a spare G-4114 gear. Th downside is that I'm down a Magic Screen motor, the gearbox being fatally ruined.

The rest of the game was OK-ish : I had to de-grease and re-lube the Magic Screen feature stepper unit, the Selection feature stepper unit and the Extra Ball stepper unit. I had to clean the payout unit discs and wipers. Clean the points on the Search Index relay switches.


I'm still play testing the game as I write this post.


Tuesday, December 3, 2024

Cobbled repair on Can Can Arrangeball

So the other day I was playing my Satomi Miracle Can Can (MC-1) Arrangeball machine when I noticed a ball going into 12, but 12 didn't light up on the card.


I thought it was maybe just a fluke so I played the game some more... 12 definitely didn't light up.

Then I thought it was maybe just the light, so I managed to hit the vertical 4 in line 4 - 8 - 12 - 16 and the win didn't register :-(

So I open the game and at the bottom of the cabinet, 3 small black innocuous looking plastic bits.


Those plastic bits were part of the leaf switch for #12. A sort of rigid leaf switch extender, that was originally molded to the end of the switch leaf.


Having no proper replacement parts on hand, I had to cobble something.

I managed to solder a trimmed part of a solder lug from some junk pinball leaf switch blade I had laying around. The width and length was just right. It soldered in surprisingly easy.

I just had to tweak the angle a bit for the switch to close properly.


I hate having to cobble stuff together like this but with no spare parts available, what are my options?


Saturday, January 27, 2024

Nishijin Power Roulette Shenanigans

 Nishijin Power Roulette Pachinko machine repairs.

But first…

A recap on 2023.

2023 was the first year since 2012 that I didn’t buy or sell any games.

Late in the year, I had a couple of old friends over about a bingo machine motor. That despite having said multiple times that I didn’t want to talk to anyone. But, a friend in need is a friend indeed and, honestly, I can’t say no to the philosophical godfather of pinball repair in this blighted province of Quebecistan so that’s that.

Now, back to Power Roulette:


I got this Power Roulette in late 2019 with the help of a friend. This game was a poor purchase choice on my part. Despite loving 70's pachinko machines, I don’t like this game. I think Power Roulette is the Nishijin equivalent of Bally Fireball. Highly sought after. Expensive. Overrated. Not that fun. With a big circular useless feature in the middle of the play field.

I know from experience. I own both aforementioned games. I Have no qualms about slagging games I own.

So I got the game, played it a bit. Realized it had a problem. Loaned it off. Got it back... unfortunately (I guess I could have sold it around that time but I prefer trading games). Stuck it in a corner and forgot about it for a couple of years. Which brings us to now. I wanted to fix the game and be done with it.

To fix Power Roulette, I had to take out the complete left side actuator assembly for the tulips and slightly re-position it. The problem is that the unit is stapled.  It's stapled with a particular type of staple.

To properly measure the factory staples, first, I had to delicately remove one of the staples without destroying it or the unit. Easier said than done. 


With a lot of measuring and research I found that closest equivalent to the factory staples are a 21 gauge, 1/2 inch crown, 3/8 length. Now if this was just some no value pachinko machine, the staples wouldn't have mattered, but Power Roulette is a very valuable game so attention to details when executing repairs is paramount. Furthermore I needed a long thin muzzled pneumatic staple gun to get the staples into the nooks and crannies. All that for four (4) staples. These are by far the most expensive staples I've ever driven.


With the repairs done, I don't hate the game as much but I still think Power Roulette is overrated.

Now enjoy a few reference picture of a rare Nishijin Power Roulette.


Whoever on Pachitalk said that you can replace these clips with automotive clips can go fuck themselves. Fuck Pachitalk as a whole


Thursday, March 9, 2023

1969 Midway Sea Raider repair

Midway's 1969 Sea Raider arcade repairs

To write is to illuminate. The writer must gild the edges of the mundane with his words to evoke something within the reader. But to paraphrase a fellow pinball writer I greatly respect: There's only so much you can write about changing a pinball coil. What then? Coin operated amusement devices are a means to an end. In the collecting world, the means are often confused with the end. The machines themselves are MacGuffins, a device to advance the plot. So to loop back to the Sea Raider(s) what do you do when you have a totally boring road trip and boring repairs? You try to fluff it up somewhat.

I like arcade games of that era. They have a certain naive charm. Over the years I've accumulated a few. Space Gun, Road Runner, Wild Cycle, S.A.M.I. and now Sea Raider.

Yes, the game play is simplistic and repetitive but I just love the colors, the sounds, the black lights the cardboard scenery.

A miniature Potemkin village, an allegory of the world we live in. Cardboard facades, flashy lights and mirrors. All to entertain and liberate you from your coins.


On a personal level, Sea Raider holds a special space in my memory. It was the first arcade game I ever got working. I wouldn't say fixed, but it worked and played- ish. I was 18 and had little repair experience then. I eventually sold the game around 2007 or 2008. I've missed it ever since.


A bit of condensed semi reliable arcade history:

Post WW2 was a time of innovation in the United States. The coin-op industry was no different: Flippers, bowlers, increasingly complex one ball games followed by bingo machines, driving games, shuffle alleys, etc. But by the 1960's what was new and novel was now stale and formulaic. The industry needed something new.

On the other side of the world, by the 1960's, the post war recovery of Japan was creating huge innovation, same with the emergent Japanese coin-op industry. The US coin-op industry took notice of the Japanese innovation boom and copied the games for the western market.

I think Kasco's Indy 500 (1969) produced under license as Chicago Coin's Speedway is the best known of these games. SEGA's Periscope led to Midway's Sea Raider, the first of a new era of submarine games (Sea Devil, Submarine, Sea Wolf). Curiously, Sea Raider cabinet art bares a remarkable resemblance to Bally's 1946 Undersea Raider.


The Japanese influence reinvigorated the North American EM coin-operated industry. These new games had cool effects and electronic sounds. But it was to be short lived: By 1972, the first video games appeared on the market and the rapidly developing solid state and computer technology meant that the days of electro-mechanical technology were numbered.

For more in depth coin operated amusement history, I recommend this super long article about the US and Japanese coin operated industry. It's way more detailed and well worth the read.

Sea Raider repairs:

Sea Raiders is a super basic game to work on. I think it's a good game to work on as an introduction to electro-mechanical arcade repair.

The best games to find are warehouse finds. From experience, the more previous owners between you and the last Coin Operator that put the game into storage, the more questionable repairs and "restorations" the games suffer from.

I was fortunate to find these games in an untouched state (other than the coin door lock that was drilled out). I honestly didn't think there were any warehouse find games like these left in the Republic of Quebecistan. They still have the period correct Dime and Quarter coin mechanisms, the coin boxes with the tops and even the back door keys. The cabinets are solid and have minimal moisture damage.


I have two examples of the same title in similar condition, both operated the same way, stored the same way, even the serial numbers make them less than 10 games apart off the assembly line, so needless to say the repairs were very similar on both games.

The last thing you should do when you first acquire your warehouse find is to plug it in. First: inspect the game. Inspect everything top to bottom, front to back. Start with the plug (stecker), the power cord, the switch, the fuse clips, the fuses, the transformer, all the wiring inside the game. Then everything else: connectors, relays, steppers, motors, coils, etc.

Look for any and all damage, corrosion, missing parts, loose parts. Clean out the cabinet and set aside any parts you may find at the bottom of the cabinet. These parts tell machine's story and can point you towards problems with the game. Then, you have a good overview of the repairs required.


Gearmotors:

Sea Raider uses multiple Multi-Products gearmotors. They have felt pads that should be periodically oiled. An oil hole is provided.


Stepper Units:

Make sure the ratchet gear and shaft spins freely. Free up the drive arm... and the reset arm. Check all the pivot points. Clean the coil stops, coil sleeves and plungers. Burnish the contact pads. Check the wiper assembly. Lube up metal on metal moving parts. There are different schools of thought when it comes to choice of lubricants... pick your libation of choice.


To clean the contact discs. I use a green Scotch-brite pad (the 3M ones, not the knockoffs)  with pure Isopropyl and shop rags. Then I use an electrician's eraser or a fiber pen to clean the conductive pads. Then I use a nylon bristle brush to really clean between the pads. Then I inspect for burnt micarta (phenolic and fiber material) between the pads. Remove the burnt micarta with dentists tools or a hobby knife. To finish it off, I buff the micarta with Novus 2 to take off the swirl marks, making sure to remove all the clay residue from Novus.

Before:


After:


On the printed circuit discs for the torpedo course arm disc and the ship target panel disc I use shop rags, Isopropyl and Novus 2 to avoid damaging the traces and pads. Again I check for burnt material. The ship target panel disc is notorious for burning between the pads at the point where the boat reverses.


Selector unit:


The selector unit switches had to be cleaned. The unit is at the very top of the cabinet. Most of the wires used for this sub assembly are solid wires. I thought it better to unscrew all of the stacks at once instead of one at a time and risk breaking a wire. Top switches are for ship hit detection. Bottom switches are for guiding the torpedo arm left or right. Each switch stack had to be handled gingerly to avoid it falling apart. Cleaned the switch points with a flex stone and a small wire brush. While the unit was apart I found a few wires that were improperly soldered.


Torpedo course arm unit:

One of the machines had some damage to the torpedo course arm unit wiring loom. Part of the torpedo arm rubbed on the wiring that interfered with the arm at end of stroke. That made the whole assembly a shock hazard. Got a good zap off that one. Simple electrical tape fix and I properly tucked away the wiring loom to stop it from rubbing.


New lamps for Sea Raider:

Sea Raider uses #1895 12V bulbs throughout the game. These are getting harder to find now. I bought some N.O.S. bulbs from eBay. 


Jones connector at the bottom of the cabinet (not pictured):

There is a Jones connector at the very bottom of the cabinet. It is used for the coin door and the neon light power. In both games, that connector was problematic and had to be addressed.

Sound Unit:

Sea Raider has a sound unit that produces three distinct sound effects: a radar ping (beep), torpedo white noise once a torpedo is launched and an explosion sound for torpedo/ship hits.

One one of my machine, the sound unit worked perfectly.

One the other machine, the radar pings didn't work. I had to replace two capacitors. From experience working on a few games from that era, the old silver Sprague capacitors tend to be problematic.


I didn't have any axial capacitors of the right value on hand so I will have to make do with radial caps. They look sorta bodged in, and they are.


Sound board diagram

Sound board diagram for dummies


In conclusion, Sea Raider is an ideal addition to a game room. It has a small footprint, it's simple (to repair and to play) and it's an artifact of the silver age of the coin-operated amusement industry. I recommend it as a novelty in any pinball heavy game room.


Links/ references:

Pete's Game room Sea Raider repair

Some other Sea Raider repair log

Pinrepair.com Sea Raider